Vegetables & Side DishesOriginal
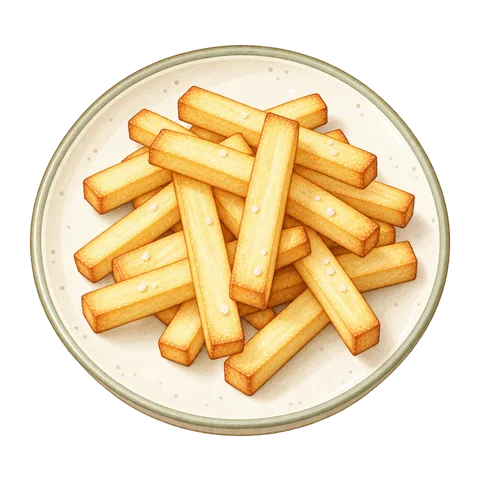
French Fries Made from Raw Potatoes
Potatoes (net weight, peeled)Rice bran oilSalt
EPEIOS · CP247A
View Ingredients and InstructionsEPEIOS / CP247A
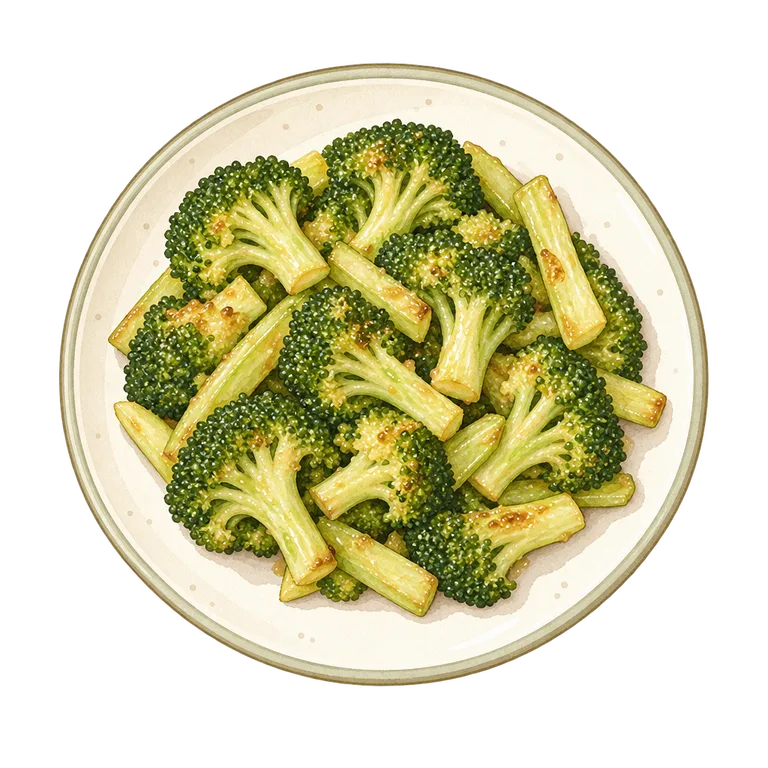
An original recipe for the EPEIOS Non-Fry Oven CP247A, made with 250g of broccoli, separated into small florets. Arrange the florets in a single layer in the mesh basket and cook on the middle rack.
These recipes are specific to each model number. Even within the same brand, do not apply settings intended for one model to another.
These are original recipes created using AI on Crisp. They are not listed as official manufacturer recipes or recipes that have been verified using actual devices.
AI-generated content may contain errors. Flavor, texture, and reproducibility have not been verified using the actual appliance. Before cooking, read the conditions and checks in each step, and check the final result using the method described in the recipe.
Illustrations are AI-generated images. They are not photographs of actual cooking or evidence that the food has been cooked through.
After about 5 minutes, open the door, use tongs to flip the food over and separate any overlapping pieces, and check for any burnt clusters. If nothing is burnt, close the door and resume cooking; if anything has started to burn, remove the food, then keep the door open and press and hold the On/Off button to turn off the power. When the set time has elapsed, cut open 1 of the thickest pieces to check the firmness of the center. If it’s tender, transfer it to a clean plate; if it’s still firm, remove it and proceed to the final check. If the food starts to burn, open the door to stop heating, remove the food using heat-resistant oven mitts and tongs, then keep the door open and press and hold the On/Off button to turn off the power. If you notice smoke, an unusual odor, or an error message, unplug the appliance, stop using it, and follow the instructions in the user manual.
Instructions for preheating, mid-cooking checks, and how to check for doneness are included in the preparation instructions.
The total time required, including preparation, has not been measured. The time shown is only the appliance's setting for the initial heating cycle.
Separate the broccoli into small florets, and cut any large ones in half lengthwise. Peel the stems thickly and cut them into slices 10mm thick. Wash them, then pat dry with paper towels.
Discuss these instructionsIn a bowl, mix 8g of olive oil, 2g of garlic, and 1.5g of salt, then toss the broccoli until lightly coated.
Discuss these instructionsPlace the oil and crumb tray flat on the bottom of the oven. Arrange the food in the mesh basket without stacking it, leaving space between each piece, then slide it into the middle rack and close the door. Do not preheat the oven.
Discuss these instructionsPress and hold the On/Off button to enter standby mode, select “Vegetables” using the Menu button, set the temperature to 180℃ using the Temperature button and the +/− buttons, set the time to 10 minutes using the Time button and the +/− buttons, and press the On/Off button to start. Do not start the cycle with the default menu settings. After about 5 minutes, open the door, use tongs to flip the vegetables over and separate any overlapping pieces, and check for any burnt clusters. If nothing is burnt, close the door and resume cooking; if anything has started to burn, remove the food, then keep the door open and press and hold the On/Off button to turn off the power. For mid-cooking checks, follow the “Done,” “Not Done,” or “Abnormal” guidelines in the “Heating Stage” section.
Discuss these instructionsOnce the set time has elapsed, break off 1 piece of the stem and check to see if the center is still firm. If it is tender, transfer it to a plate regardless of the color of the tip of the cluster. If it is still firm, proceed to the final check.
Discuss these instructionsIf the dish does not meet the completion criteria, do not reheat it. Instead, go to “Discuss these instructions” and provide the total cooking time, the time the oven door was open, the quantity and thickness of the ingredients, and the condition of the center. For dishes that require a thermometer, please also provide the measured core temperature and the duration for which that temperature was maintained. Do not plate the dish as finished until it has been verified, and do not repeatedly add time without justification. If you need to interrupt cooking, transfer the food to a clean container and refrigerate it; when you resume cooking, ensure it is thoroughly reheated.
Discuss these instructionsIf the center of the stalk is tender, the vegetables are ready, regardless of the color of the tips of the bunches. Remove any burnt bunches.
As soon as the food starts to burn, open the door and remove the food, then keep the door open and press and hold the On/Off button to turn off the power. Next time, make sure the pieces are all the same size and coat them evenly with a thin layer of oil.
Remove it and proceed to the final check. Next time, slice the stem thinly and peel it a little thicker.
EPEIOS CP247A User Manual, p. 6 (Default Vegetable Menu) ↗
Source checked: 2026-09-14
Notes are saved only on this device. They are not used to determine whether a recipe has been verified.
EPEIOS · CP247A
View Ingredients and InstructionsEPEIOS · CP247A
View Ingredients and InstructionsEPEIOS · CP247A
View Ingredients and InstructionsEPEIOS · CP247A
View Ingredients and Instructions