Vegetables & Side DishesOriginal
Steam-Prepared Baked Sweet Potatoes
Sweet Potato
récolte · RAO-3
View Ingredients and Instructionsrécolte / RAO-3
RAO-3 frozen fries, 200g: initial 190℃ / 15 minutes, preheating guidance, turning and checking the center.
These recipes are specific to each model number. Even within the same brand, do not apply settings intended for one model to another.
These are original recipes created using AI on Crisp. They are not listed as official manufacturer recipes or recipes that have been verified using actual devices.
AI-generated content may contain errors. Flavor, texture, and reproducibility have not been verified using the actual appliance. Before cooking, read the conditions and checks in each step, and check the final result using the method described in the recipe.
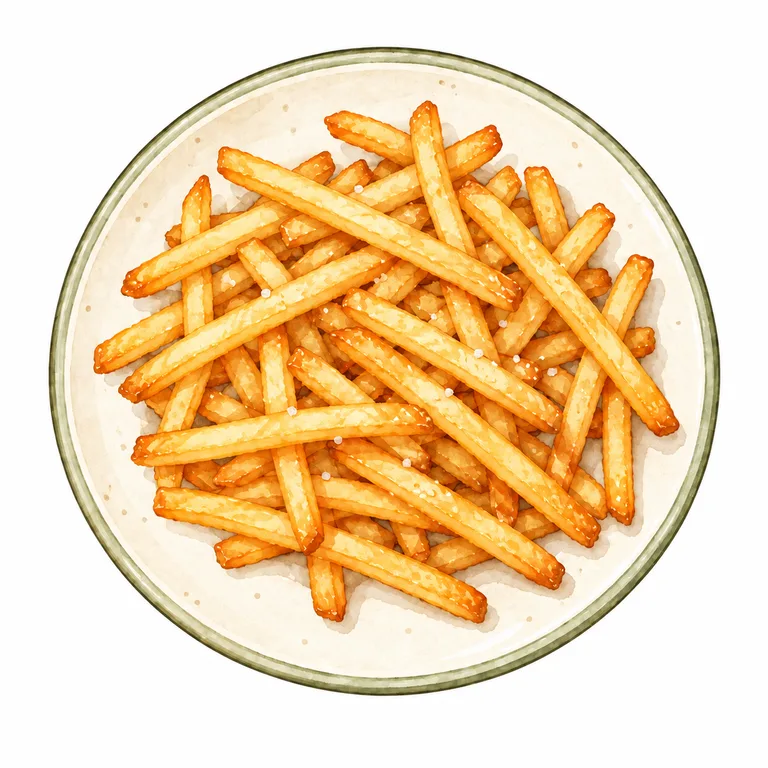
Illustrations are AI-generated images. They are not photographs of actual cooking or evidence that the food has been cooked through.
Stop after 10 minutes, then turn and rearrange the fries. Remove any that are starting to burn. Resume the remaining time only for fries that are cold or hard in the center and have not burned. Remove those that are hot and soft throughout.
Instructions for preheating, mid-cooking checks, and how to check for doneness are included in the preparation instructions.
No knife work, parboiling or marinating is needed. Take the fries out of the freezer just before cooking and keep them frozen during any preheating.
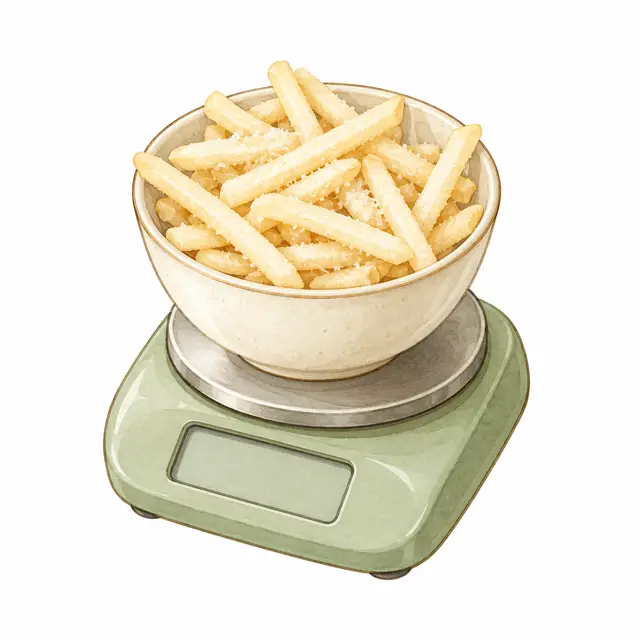
Check the cooking method on the product label and weigh the listed amount of fries while frozen. Lightly coat them with 3g of rice bran oil in a bowl. Keep the salt for finishing.
Fit the inner rack in the correct orientation while the appliance is cold. Use Air Oven without preheating. Do not switch to a mode that uses water.
Discuss these instructionsSpread the fries in a single layer on the inner rack or crisper plate. Do not use paper or foil or block the air holes. If the full amount does not fit, do not start heating; ask about the amount and arrangement.
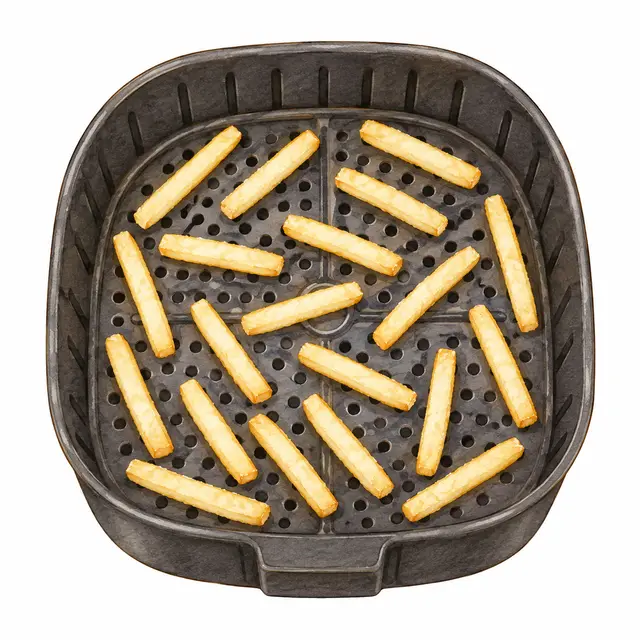
Select the initial heating setting on the Air Oven and press START/STOP to begin. After the specified time has elapsed, press START/STOP to pause, then place the basket on the trivet. Turn and rearrange the fries, and remove any that have started to burn. Of the items that are still cold or hard in the center but haven’t burned, return only those that are unburned, then press START/STOP to resume the remaining time. After the cycle ends, confirm that the oven has stopped.
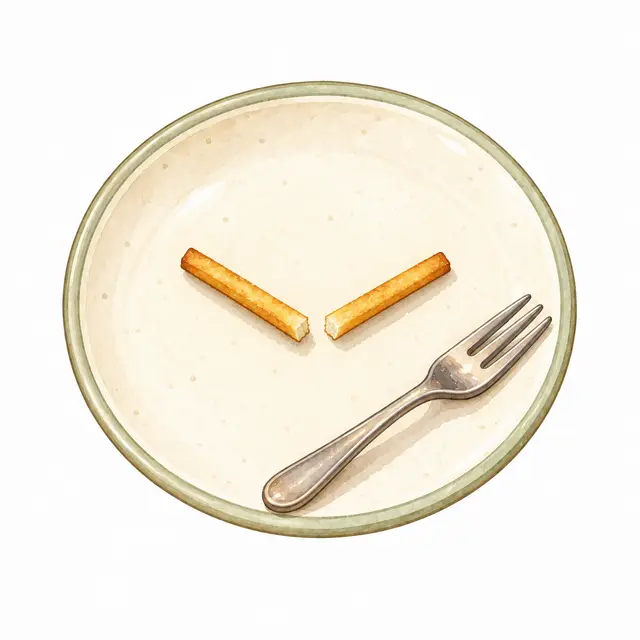
Discuss these instructionsStop heating, remove several of the thickest fries, and split them with a fork on a plate. Check that they are hot and soft throughout, without cold or hard centers. Do not judge doneness by surface color alone. If they are not ready, follow the doneness guidance below.
Once you’ve checked that the center is cooked through, transfer it to a clean plate and sprinkle with 0.5g of salt if needed. If it’s already salted, don’t add any more. Leave the lid off, and eat it once it’s reached a temperature suitable for eating.
Discuss these instructionsRemove several of the thickest fries and split them open. Check that they are hot and soft throughout, with no cold or hard center. Do not judge by surface color alone. If the center is cold or hard, do not serve. Use “Discuss these instructions” to report the product name, thickness, actual amount and heating history. Do not repeatedly add cooking time without a basis.
Add the fries while frozen. Rinsing, soaking and microwave thawing are unnecessary. Do not use these settings for fries with large clumps of ice or fries that have thawed and stuck together.
Lightly coat the oil-processed frozen fries with 3g of rice bran oil. Avoid pools of oil. This recipe is not a no-added-oil or fat-free recipe.
Select your appliance model and use its listed initial heating settings. Do not assume the fries are done when the initial time ends; check the center during cooking and at the end.
Check for overlaps and ice clumps. Turn and rearrange the fries during cooking. Once done, transfer them to a plate promptly. Do not trap steam by covering them while hot. Do not simply extend the time while leaving an oversized batch in the basket.
Manufacturer's Instruction Manual ↗
Source checked: 2026-09-14
The manual states that a short press of TIME changes the setting by 5 minutes, while its cooking references also include times such as 18 minutes. Since actual device increments are unverified, this page uses initial settings in 5-minute increments and distinguishes them from elapsed checking times. Omitting alcohol is an independent prototype policy.
Notes are saved only on this device. They are not used to determine whether a recipe has been verified.