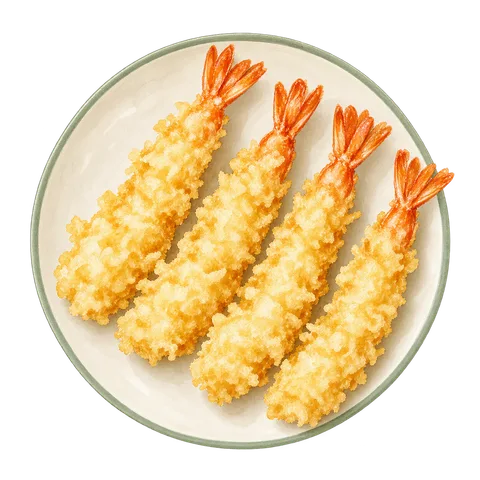
Seafood DishesOriginal
Reheating Shrimp Tempura
Ready-to-Eat Shrimp Tempura
Ninja · AF080J
View Ingredients and InstructionsNinja / AF080J
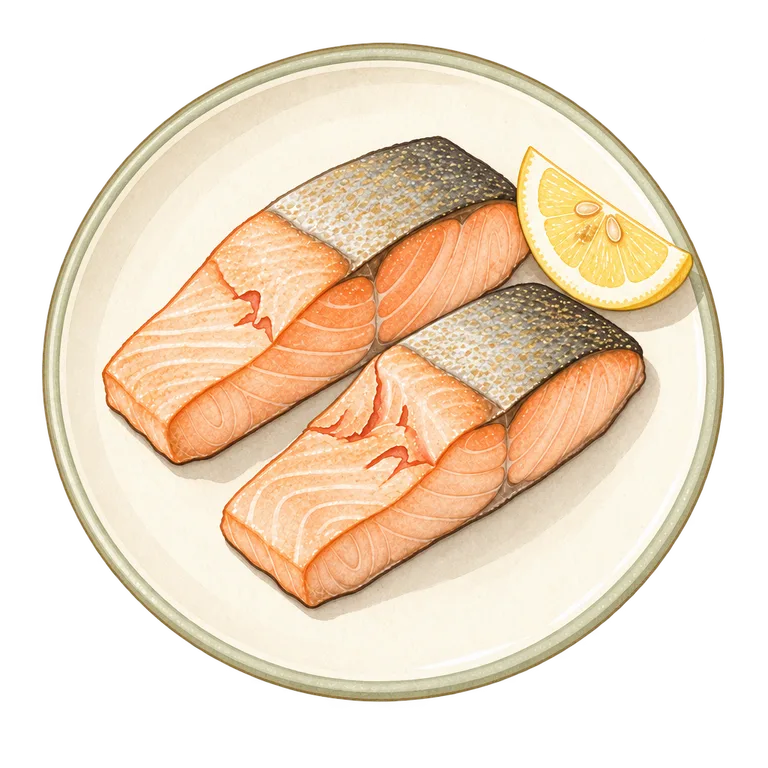
Simply cook 1 slice of salmon (no more than 15mm thick) using only salt.
The official sources referenced are listed in the "References" section at the bottom of the page.
For information on the use of AI and the scope of verifiable content, please refer to our general posting guidelines. Please read the preconditions and instructions for each step before cooking, and verify the final result using the method described in the text.
Illustrations are AI-generated images. They are not photographs of actual cooking or evidence that the food has been cooked through.
Rotate the salmon after about 4 minutes, and measure the center temperature and holding time after cooking is complete. Measure the center temperature and holding time at the thickest part. Transfer any pieces that meet the completion criteria to a clean plate. If a piece does not meet the criteria, but shows no signs of burning or abnormalities, remove the testing tool, return the piece to the air fryer, and resume cooking for the remaining time originally set. If the piece is still not done after the set time has elapsed, stop cooking and proceed to the final verification step. Do not resume cooking if the salmon has started to burn. If you notice smoke, an unusual odor, or an error indicator, stop the appliance immediately, discontinue use, and follow the instructions in the user manual.
Instructions for preheating, mid-cooking checks, and how to check for doneness are included in the preparation instructions.
Sprinkle with salt and let sit in the refrigerator for 5 minutes.
Pat the salmon dry with paper towels and remove any remaining bones. Sprinkle 0.8g of salt on both sides, cover, and let sit in the refrigerator for 5 minutes. Blot off any moisture that has seeped out, then lightly brush the surface with 2g of canola oil. Keep utensils that have come into contact with raw fish separate from those used for the final cooking steps.
Discuss these instructionsArrange the specified amount for one batch on the plate with the convex side facing up, without stacking the pieces. Place the basket back into the cooled unit, set the dial to approximately 8 minutes without preheating, and use a separate timer to measure the actual cooking time. When setting a time of less than 5 minutes, turn the dial past the “5” mark and then back down. Reposition the salmon after about 4 minutes, and measure the salmon’s core temperature and holding time after cooking is complete. Before removing the basket mid-cooking, turn the dial counterclockwise to 0 to stop the timer, then lift the basket by the handle and place it on a trivet. Follow the “Heating Stages” column to determine whether the salmon is done, undercooked, burnt, or shows other abnormalities. Only if the salmon is undercooked but shows no abnormalities should you remove the probe, return the basket to the unit, and set the remaining time by subtracting the actual heating time from the initial setting. The time the basket was out of the unit is not counted toward the heating time.
Discuss these instructionsSelect several spots on the thickest parts of the fillets, insert a food thermometer from the side into the center, and confirm that the core temperature remains at 75℃ or higher for at least 1 continuous minute. Do not judge the holding time or safety based on a single measurement, visual inspection, or photograph alone. If the conditions for completion are not met, stop heating and proceed to the final verification step. Remove the thermometer before returning it to the unit. If the dish does not meet the completion criteria, stop heating and proceed to the final verification step. The temperature cannot be adjusted.
Discuss these instructionsOnce the cooking conditions are met, use a thin spatula or similar tool to gently lift the food and transfer it to a clean plate. Garnish with lemon if desired.
Discuss these instructionsIf the dish does not meet the completion criteria, review the intermediate checks and final standards listed in the instructions. If you cannot find a method in the official instructions or the product’s cooking guidelines that corresponds to the same ingredients, quantities, thickness, and starting condition, do not repeat the heating process based on guesswork, and do not eat the dish.
Discuss these instructionsThe dish is done when the center reaches at least 75℃ and remains at that temperature for at least 1 minute. Do not rely solely on the color of the meat or how easily it flakes apart to determine safety.
Reference Information on Heating and Food Poisoning Prevention ↗
Things You Can Verify Without Consulting Anyone →
Stop the process once the core safety conditions are met. If the color darkens before the first cycle is complete, check it and do not let the machine run for the full duration automatically.
This recipe is based on pieces that are 15mm or thinner. Do not simply adjust the cooking time for pieces of different thicknesses; instead, prepare slices of the appropriate thickness.
AF080J Recipe Book, p. 3: Cooking Guidelines for Salmon Fillets ↗
Source checked: 2026-09-08
Notes are saved only on this device. They are not used to determine whether a recipe has been verified.
Ninja · AF080J
View Ingredients and Instructions
Ninja · AF080J
View Ingredients and InstructionsNinja · AF080J
View Ingredients and InstructionsNinja · AF080J
View Ingredients and Instructions