Meat DishesOriginal
Salt-Grilled Chicken Wings
Chicken wingsSaltRice bran oil
COSORI · CAF-L501-KJP
View Ingredients and InstructionsCOSORI / CAF-L501-KJP
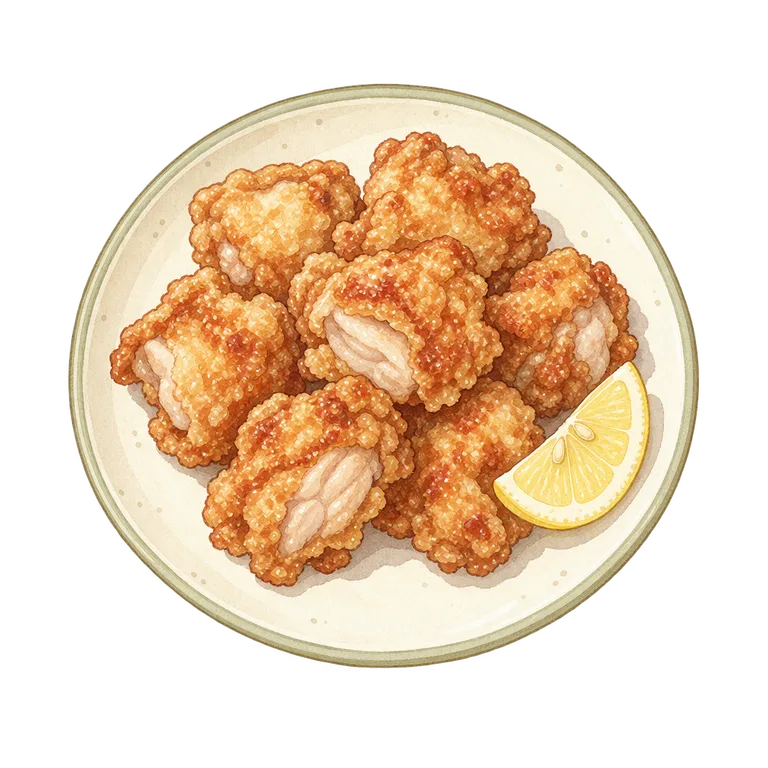
Season chicken thighs with ginger and salt, coat them lightly, and cook.
The official sources referenced are listed in the "References" section at the bottom of the page.
For information on the use of AI and the scope of verifiable content, please refer to our general posting guidelines. Please read the preconditions and instructions for each step before cooking, and verify the final result using the method described in the text.
Illustrations are AI-generated images. They are not photographs of actual cooking or evidence that the food has been cooked through.
After about 7 minutes, remove the food, flip it over, and resume heating for the remaining time. Check the core temperature when finished. Measure the core temperature of the thickest part and the holding time. Transfer any items that meet the completion criteria to a clean plate. If the food does not meet the criteria, and provided there is no burning or other abnormalities, remove the temperature probe and return the food to the air fryer, then resume cooking for the remaining time as originally set. If the food is still not done after the set time has elapsed, stop cooking and proceed to the final verification step. Do not resume cooking if the food has started to burn. If you notice smoke, an unusual odor, or an error indicator, stop cooking immediately, discontinue use, and follow the instructions in the user manual.
Instructions for preheating, mid-cooking checks, and how to check for doneness are included in the preparation instructions.
Cut the chicken, season it, and coat it. While the air fryer is preheating, return the chicken to the refrigerator.
Do not wash the meat; pat it dry and cut it into uniform thickness. Mix salt, ginger, and garlic, cover the meat, and let it marinate in the refrigerator for 10 minutes. Wash your hands and any utensils that came into contact with the raw meat, and set them aside separately from those used for the final preparation.
Discuss these instructionsCoat with potato starch and shake off any excess. Use a brush to spread a thin layer of rice bran oil over the surface. Refrigerate while waiting. Do not pour oil directly into the basket.
Discuss these instructionsProperly attach the Crisp plate to the basket and return it to the unit without adding any food. Select “Preheat,” set the temperature to 195℃, and start the cycle. Wait for the 3-minute preheat cycle—which is set automatically—to complete. Prepare a heat-resistant surface where you can place the hot basket.
Discuss these instructionsOnce preheating is complete, remove the basket and arrange the ingredients on the plate with space between them, avoiding overlapping. Return the basket to the unit, manually set the temperature to 195℃ and the time to 14 minutes, then start the cycle. Do not use the preset’s default time. After approximately 7 minutes, remove the basket, flip the ingredients, and resume cooking for the remaining time. Check the progress midway through cooking according to the “Completed,” “Not Completed,” or “Abnormal” status in the cooking stage section, and use the controls in the “Conditions” section to stop or resume the process.
Discuss these instructionsOnce cooking is complete, select several thick pieces and insert a clean food thermometer from the side toward the center to take the temperature. If there are bones, do not let the tip touch them. Verify that the center temperature remains at 75℃ or higher continuously for at least 1 minute. Simply reaching 75℃ once is not sufficient to confirm the holding time. Do not consider the dish done based on color or photos alone.
Discuss these instructionsIf the dish does not meet the doneness criteria, stop cooking and proceed to the final check. If the surface begins to burn, stop cooking; if the center does not meet the doneness criteria, proceed to the final check. Once the cooking conditions are met, transfer to a serving plate using clean tongs and garnish with lemon if desired.
Discuss these instructionsIf the dish does not meet the completion criteria, stop cooking and do not eat it. If you cannot confirm the appropriate settings for 300g of chicken thighs with skin (maximum thickness 20mm, starting from a chilled state) in the official instructions or product labeling in the reference section, do not repeat the cooking process based on guesswork. Do not refrigerate the chicken while it is still cooking and finish it at a later date.
Discuss these instructionsMake sure the center reaches at least 75℃ and remains at that temperature for at least 1 minute before eating. Browning is only a supplementary check of texture.
Reference Information on Heating and Food Poisoning Prevention ↗
Things You Can Verify Without Consulting Anyone →
Next time, shake off any excess flour and brush on a thin, even layer of oil. Don’t blindly extend the cooking time just because there’s white flour on the surface; check to make sure the center is cooked through first.
If the food does not fit, do not start heating; proceed to the “Placement Guidelines” section. Do not overcrowd the air fryer and increase the cooking time.
COSORI PRO LE 4.7L Official Recipe Book, p. 25 ↗
Source checked: 2026-09-08
Notes are saved only on this device. They are not used to determine whether a recipe has been verified.
COSORI · CAF-L501-KJP
View Ingredients and InstructionsCOSORI · CAF-L501-KJP
View Ingredients and InstructionsCOSORI · CAF-L501-KJP
View Ingredients and Instructions
COSORI · CAF-L501-KJP
View Ingredients and Instructions