Bread & SweetsOriginal
Rice flour snowball cookies
Rice flourAlmond flourPure powdered sugar (for dough)
récolte · RAO-3
View Ingredients and Instructionsrécolte / RAO-3
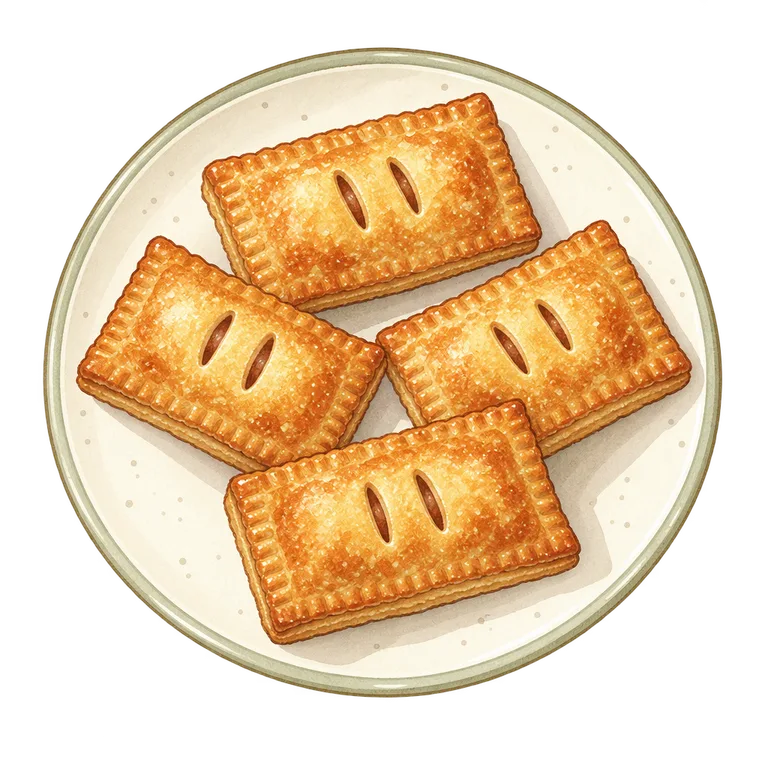
Wrap the chilled stewed apples in pie dough, place them directly on the inner rack, and bake in the Air Oven at 200℃ with an initial setting of 15 minutes. Use the official “Apple Stick Pie” recipe—inner rack, 200℃, 15〜18 minutes—as a starting point, and check until the bottom and the dough touching the filling are done.
The official sources referenced are listed in the "References" section at the bottom of the page.
For information on the use of AI and the scope of verifiable content, please refer to our general posting guidelines. Please read the preconditions and instructions for each step before cooking, and verify the final result using the method described in the text.
Illustrations are AI-generated images. They are not photographs of actual cooking or evidence that the food has been cooked through.
After 10 minutes, press START/STOP to pause, and place the basket on a trivet. Check the color of the top and edges; if they haven’t started to burn, return the basket to the air fryer and press START/STOP to resume the remaining time. If the top or edges have started to burn, do not resume cooking; do not eat them, and proceed to the final check step. After 15 minutes, lift the 2 pieces with tongs to check the bottoms. Make sure the dough on the bottom has browned and dried, and does not sink when pressed. Cut 1, the thicker piece, vertically on a cutting board; it is considered done only if the layers have set all the way down to the dough touching the filling, and no moist, raw dough remains. If it does not meet these criteria, do not add more time; do not eat it, and proceed to the final check. If you notice smoke, an unusual odor, or an error indicator, stop the appliance, unplug it, and follow the instructions in the user manual.
Instructions for preheating, mid-cooking checks, and how to check for doneness are included in the preparation instructions.
Simmer the apples until thickened, then let them cool. Thaw the pie crust in the refrigerator and shape it. The initial 15 minutes is for 1 batch; bake the whole amount in 2 batches. Check and cool after each batch.
Cut 80g of apples into 5mm cubes and place them in a small saucepan with 10g of sugar, 4ml of lemon juice, and 15ml of water. Heat over medium-low heat, stirring constantly, until the apples are tender and no liquid remains pooled at the bottom of the pan. Stir in 0.2g of cinnamon, spread the mixture in a shallow container to cool slightly, then chill in the refrigerator.
Discuss these instructionsThaw 100g of puff pastry in the refrigerator according to the package instructions, shape it into an approximately 16cm square that is 3mm thick, and cut it into 4 squares measuring 8cm on each side. Divide the cooled apples into 4 equal portions and place each portion on half of its pastry square. Brush the edges with a small amount of the 5ml of milk, fold in half, and press the edges together with a fork. Keep the thickness at 20mm or less, and make 2 short slits on top to let steam escape.
Discuss these instructionsLightly brush the remaining milk over the tops of the 4 pies. Set the inner rack with its rubber covers in the basket, and arrange 2 pies directly on the rack, spacing them at least 2cm apart. Do not line the basket with paper or foil. Cover the remaining 2 pies and refrigerate them. Place the basket into the main unit and start the Air Oven at 200℃ for 15 minutes. After 10 minutes, press START/STOP to pause, and check the color of the tops and edges. For mid-cooking checks, follow the guidelines in the “Heating Stages” section; if you continue, return the basket and press START/STOP to resume the remaining time.
Discuss these instructionsAfter 15 minutes, use tongs to lift the 2 pieces and inspect the bottoms. Make sure the dough on the bottom has browned and dried out, and does not sink when pressed. Cut 1, the thicker piece, vertically on a cutting board to confirm that the layers have set all the way down to the dough touching the filling, and that no moist, raw dough remains. If this is not the case, do not extend the cooking time; proceed to the final verification step without eating it. Once cooked, transfer to a wire rack. In subsequent batches, the temperature of the ingredients and the residual heat inside the oven will change. Cover and refrigerate any uncooked dough that is set aside, and only begin baking if the specified starting conditions and oven cooling conditions can be met for each batch. If these conditions cannot be met, do not reuse this setting; instead, select the official procedure for the same model number. Allow the apples to cool to an edible temperature before eating.
Discuss these instructionsIf the dish does not meet the completion criteria, stop heating and do not eat it. Do not extend the cooking time or repeat the heating process based on guesswork. Verify the actual cooking time, the thickness and initial condition of the dough, the moisture content of the fillings, and the condition of the top and bottom surfaces.
Discuss these instructionsCheck not only for browning on the surface, but also to ensure that the layer of dough in contact with the bottom and the filling has set. Since the apples inside will still be hot, cut it open and let it cool before eating.
Things You Can Verify Without Consulting Anyone →
Simmer the filling thoroughly, let it cool, and wrap it in the dough without overheating it.
Do not place any filling along the edges; press them down with a fork and let the steam escape through the slit on top.
Recolte RAO-3 Official Recipe: “Apple Stick Pie” ↗
Source checked: 2026-10-25
The initial setting is in 5-minute increments. Check the progress based on the elapsed time since heating began; do not use the check time as the unit’s set time.
Notes are saved only on this device. They are not used to determine whether a recipe has been verified.
récolte · RAO-3
View Ingredients and Instructions
récolte · RAO-3
View Ingredients and Instructionsrécolte · RAO-3
View Ingredients and Instructionsrécolte · RAO-3
View Ingredients and Instructions